Installing parquet flooring is pretty much the same set up as installing plank flooring, the same principle applies to both when it comes to striking your lines. The first thing that must be done when it comes to gluing down your parquet flooring is to get a straight line down the middle. Once you know the direction you want the parquet flooring to go in, measure the distance from one wall or end of the area to the other end. Measure the distance perpendicular of the parquet flooring. Once you have the distance on both ends of the room or area, try to find the approximate centre of the room. These lines are very important in all types of parquet flooring and plank flooring. Once you have the area for your straight line marked out you can start to install your parquet flooring in the straight-line area. Start by placing the parquet flooring blocks at a 45-degree angle to the line. It is usually best to start from the middle of the room, but this is not necessary all the time. You can use a pin gun or a steel nail to tack your parquet flooring blocks in places to help you place the line correctly. Once your parquet flooring line is down you can start to fill it in with your adhesive. Use an adhesive that is compatible with your parquet flooring and suitable for your subfloor. It is also important to use the correct trowel. Some adhesives for parquet flooring will come with the recommended trowel that is required. There is sometimes a top layer of adhesive stuck at the top of your tube, be sure to remove this before you start spreading your product. Also, if there is a top piece of plastic at the top of your tube of adhesive, it is important to put this aside to keep your adhesive fresh after use when not being used. Pour your parquet flooring adhesive in the centre of your lined area and spread it evenly around with the recommended trowel supplied. Hold the trowel perpendicular to the subfloor to ensure the correct amount of adhesive is distributed.
Once you have the first row of parquet flooring blocks in and completed in the straight line you can start laying block after block from end to end. Make sure that all your joints and ends of your parquet flooring are fitted nice and tightly together and you see no gaps. If there are gaps and they will not close, you may need to use a rubber mallet to tap these together and work your way down the line. You can then use your miter saw to cut your end blocks. The quickest way to get the dimension of your parquet flooring without using a tape is to turn your block the opposite way the floor is going and use a rough mark over the borderline as this will be cut of when it comes to cutting your border areas. Now you can start to tape the rows of parquet flooring together , continue this process the whole way down the centre of the parquet flooring. Also, it is important to make sure all the parquet flooring is tightly fitted together before your adhesive sets. You will need to let your parquet flooring set for at least 24 hrs, so it does not move while the rest of the installation is happening. Sometimes it can be ok to place some weights or some packs of parquet flooring on top of the areas that have been installed, this will allow you to continue on without waiting 24hrs. You can also lay the parquet flooring all the way to the walled area and cut some wedges and place them at the wall to keep it in place. But both methods will leave the possibility of your parquet flooring moving slightly.
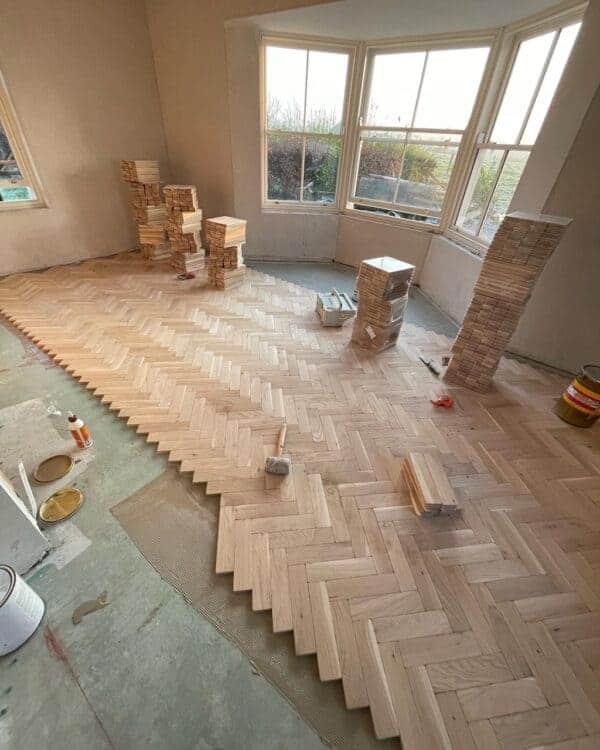
Make certain to put your plastic cover in the bucket of adhesive when you decide to stop your installation, this will keep it soft for when you want to start fitting your parquet flooring again. If you decide to fit your parquet flooring throughout the house or in different rooms, the original straight line will work for the rest of the rooms. If you are gluing down your parquet flooring in several different rooms or areas that are separated by different types of flooring, you will have to put down a different line for each different area required.
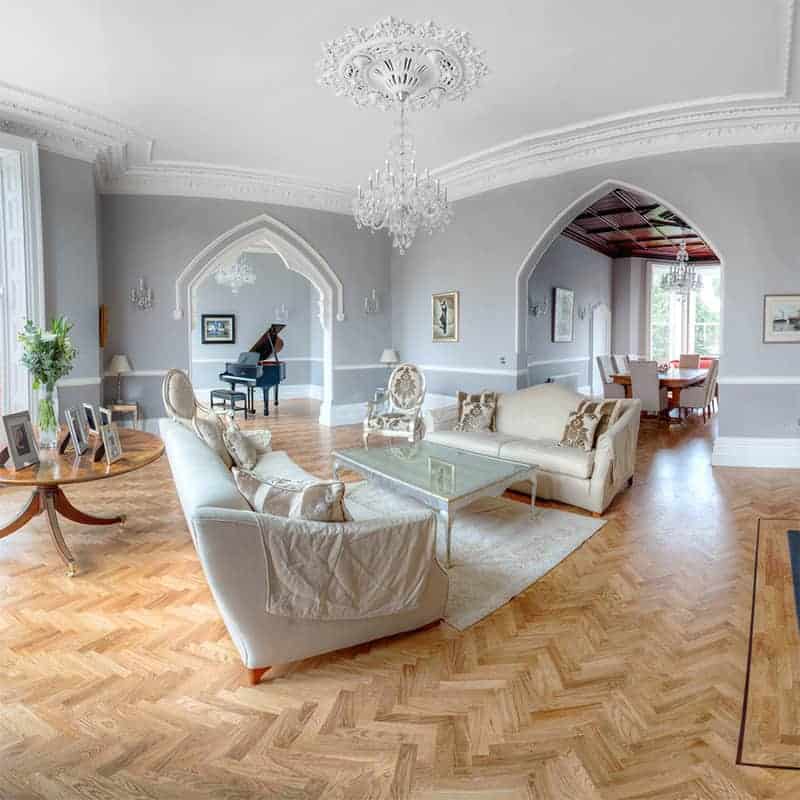
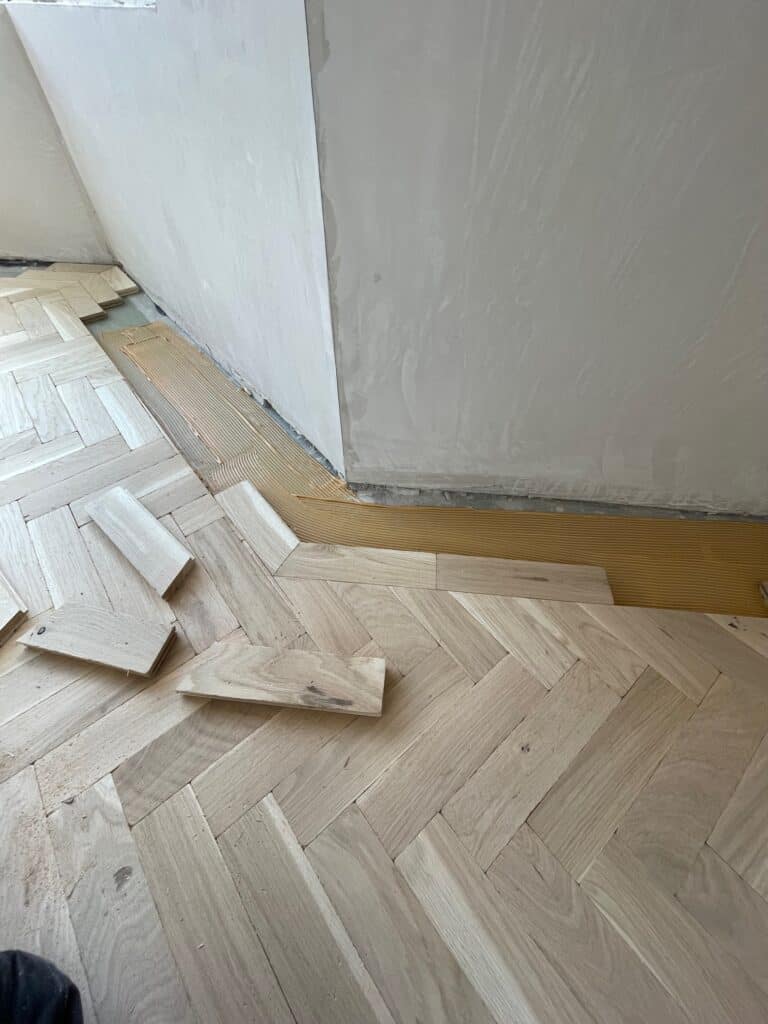
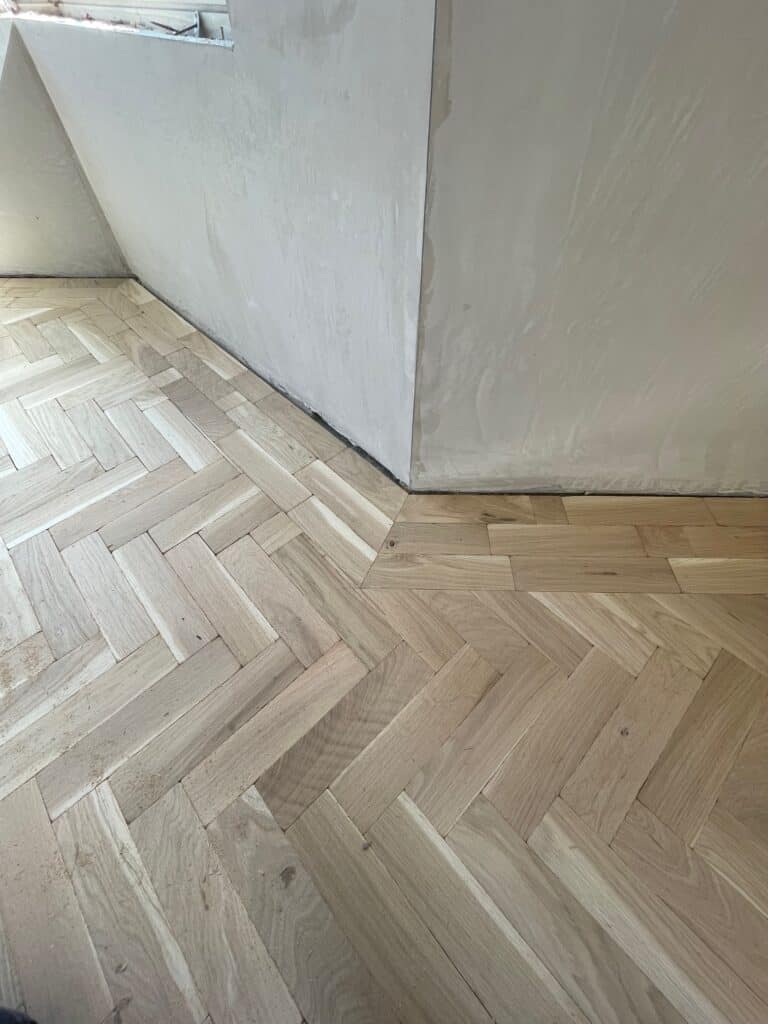
After your parquet flooring is secure and set you can place another row of parquet flooring in front of it and repeat this process until you have reached your borderline area. When all your herringbone design or in any parquet flooring design has been laid and is set you can then start to concentrate on the border lines and marking them out for your cutting. It is best to mark out with a choke line and to allow your 10 mm for movement or expansion. Once this has been completed you can then get set up to do your cut with your skill saw, which when you set the blade to the correct depth of the parquet flooring you are fitting you will be able to remove the excess parquet flooring which will allow you to fit any dimension border detail you desire. Because walls are seldomly straight in most houses you will have to make your own adjustments to make lines look ok when it comes to fitting. It will be easier to figure out how to make your cutting line by using another line for cutting.
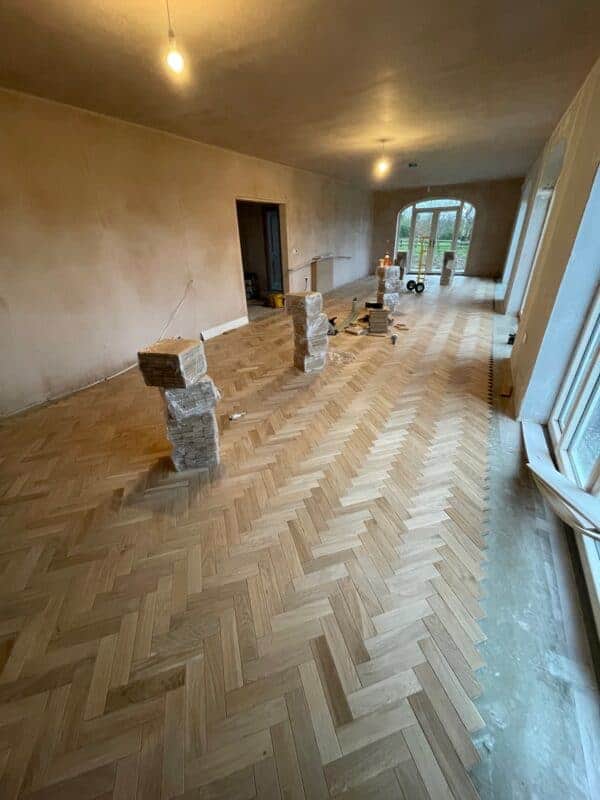
Do this by using another piece of parquet flooring down on top of the previous row and by lining it up for the border line you desire to cut to. When you have removed all the cut pieces of parquet flooring from the area you want to fit your border, you can then start to clean the excess dust and spread your glue to the existing subfloor and fit in your desired parquet flooring border. You can use a pry bar or crowbar to pull it against the previous row, it will be ok to use some sort of nail or pin to tack these areas to hold in place while your parquet flooring adhesive sets. Make sure all your parquet flooring has been compressed well into all glued areas and don’t be afraid to use your crowbar in places where you need to make a tighter fit. You can also use your hammer or a tapping block if the joints do not close easily. Tape all the last rows to the rows before of all your parquet flooring and then you can start on the other side of the area required.
When you are completing your parquet flooring into the doorway or finishing to a tiled areas or coming up to sliding doors there are a few ways in which you can finish your parquet flooring. You can go to a lot of hardware stores and get aluminium strips which are finished in many different timber effects to suit any colour tone of parquet flooring. These products are good and easy to fit, but over long periods of time they can wear badly, and adhesion can become a problem also. The best way and the one that looks the best over time is to make up a solid threshold saddle. These pieces, while more time consuming to make up, are better for high traffic areas and look much better over time which in turn will make your parquet flooring stand out more.
While most parquet flooring is most often glued down the best subfloor to glue to is a concrete subfloor. You can also glue your parquet flooring to a timber subfloor also and once you have glue to this subfloor it is very hard to remove any pieces of parquet flooring and can damage the timber subfloor when it’s removed, so best to get this right before you start fitting.
The basic tool to start gluing your parquet flooring down is very straight forward, like rubber hammer , notched trowel 3mm , chop saw , jig saw, or a track saw are some of the helpful tools required when fitting your parquet flooring. So, it always helps to have the right tools for the right job when attempting to fit or glue down parquet flooring.
One of the other critical issues in fitting parquet flooring is to have a good supplier of flooring adhesive, a lot of the hardwood flooring adhesives out there are high performance products. Some adhesives are elasticated, some are hybrid which will bond all wooden parquet flooring. Also, there are some solvent-based adhesives, but some of these products can have very strong odours from them and can be hard to work with. Most parquet flooring adhesive is ideal for bonding all wood species, strip parquet, solid wood flooring, plywood parquet flooring , exotic timbers and very wide plank flooring up to 180mm wide plank. There are also main surfaces it can be bonded to also from solid concrete, wood, metal, ceramics, and most pump screeds. As there are a lot of items to take into consideration, it is always wise to check your full data sheet and information from your adhesive manufacturers, as some timbers can be unsuitable for some adhesives. Most parquet flooring adhesives are suitable for use on warm water underfloor heating systems. Again, as I said before it is very important to make sure you have used the correct adhesives to bond your parquet flooring and the water temperature at floor level does not exceed 27 degrees. Before any fitting starts it is very important to have heating off before for 48 hrs and to wait 2-3 days after before you slowly start to bring your heating up to room temperature. When using your thermostat, you must only go up or down by one degree a day or every 24 hrs and not to jump 4-5 degrees all at once as this will keep your heating running for a much longer period of time.
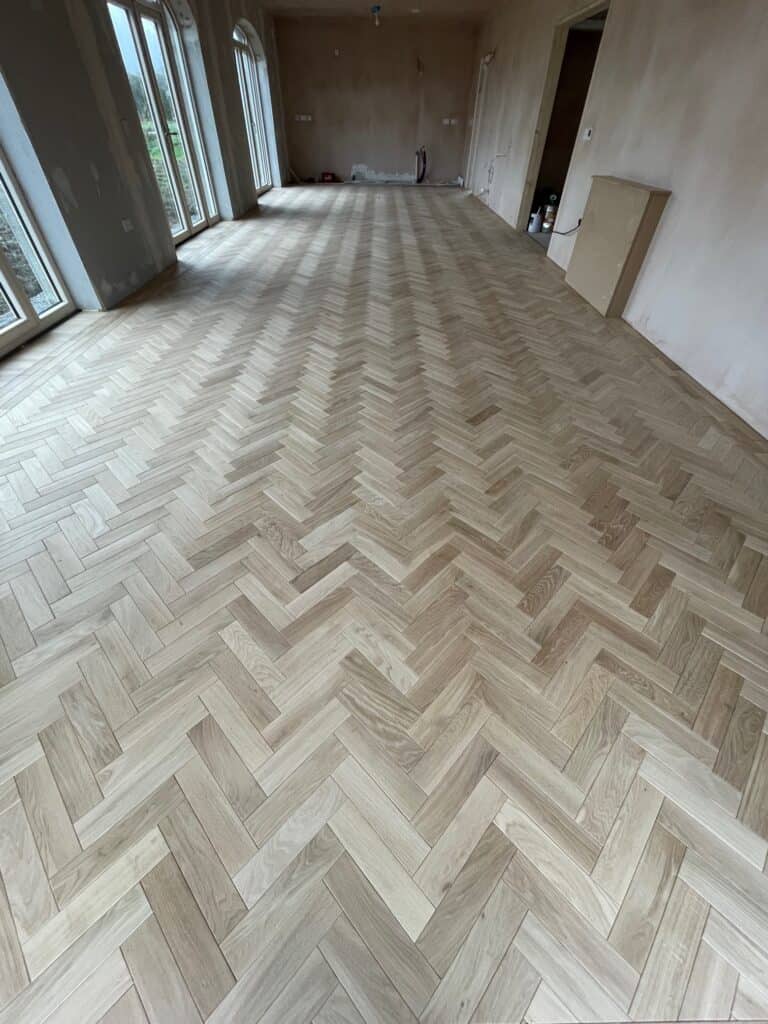
Parquet Flooring Options
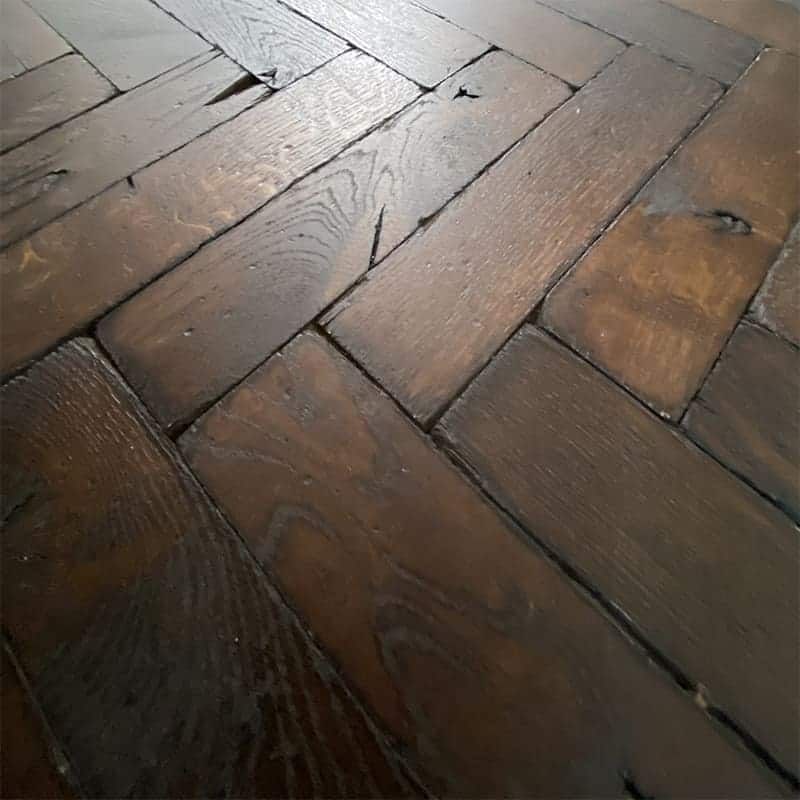
MM Parquet & Carpentry Ltd can supply and fit the full range of traditional parquet flooring, tumbled parquet flooring and reclaimed parquet flooring, please click here for more examples of parquet flooring.

